This post is more of a note to self, so unless you have a headset clunking noise when going over rough surfaces, there’s nothing to see here – please step away…
A couple of weeks ago I noticed that there was a frustrating rattling or clunking sound coming from the headset area of my Colnago when riding on uneven roads. I had recently changed the handlebar stem so I assumed that maybe the stem wasn’t far enough down on the steerer tube, causing the bearings to be loose. I checked for play in the bearings by rocking the bike back and forth with the front brake applied and feeling for any movement between the top of the fork and the head tube. It seemed that there was a very slight amount of movement detectable, so I loosened the stem bolts and tightened up the pre-tensioner bolt on the top of the stem until I could feel no play, then I tightened the stem bolts to 4Nm using a torque wrench.
On the next ride, I was still experiencing the clunking sound, and yet off the bike it was impossible to recreate it even by bouncing the bike up and down at the front. I started to suspect other things. I checked for loose wheel nuts, loose bottle cage bolts, etc. I even changed the front wheel in case it was due to wheel bearings. But the noise remained.
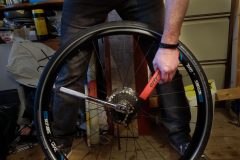
So I took the whole stem and spacers off to see if there was anything amiss. I didn’t find anything. So I re-assembled the whole lot. This time I tightened the pre-tensioner much further than it had gone before – being careful to always see that the fork was still turning freely. I couldn’t believe that I could still keep tightening it without the fork seizing up. I periodically took the top cap off to check the distance between the top of the steerer tube and the top of the stem (or spacer). The gap was reducing slowly, indicating that I was taking up slack in the bearings. 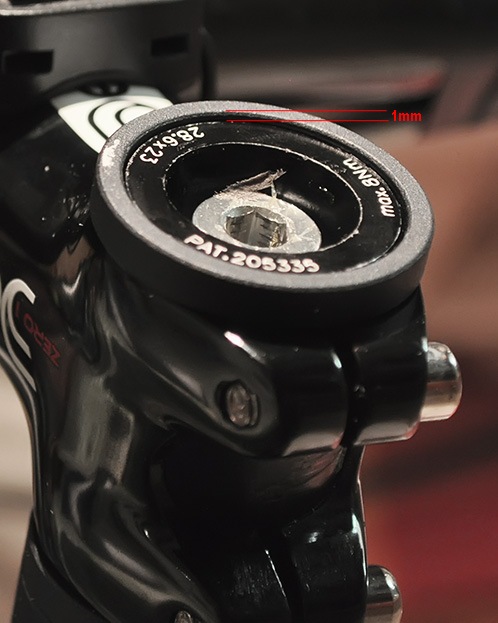
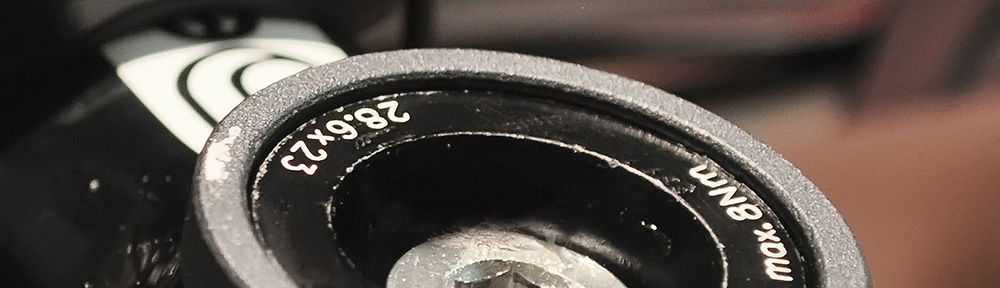
Then, the top-cap could be tightened no further – I knew what this meant – that the top cap was now coming into contact with the top of the bung in the steerer tube, meaning that there was no more adjustment left. The photo shows that there is only about 1mm between the top of the spacer (outside) and the fork bung inside, and that is not enough clearance for the dished top cap, so the cap was ‘bottoming out’. However, I had tightened it significantly more than I had done previously, so I hoped it would be enough.

The fork was still turning freely at this point so I knew I had not over-tightened it.
I ordered another 3mm spacer just in case I needed to tighten it further in the future.
This morning I went out on a ten mile test ride. The noise had gone, and the bike was back to its smooth Rolls-Royce style feel! I also managed to beat my previous best up Yalding Hill by over 10 seconds. Yay!
Edit (25th May 2014)
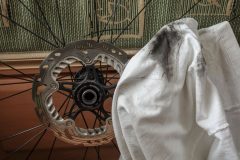
After the headset started rattling again terribly on this ride, I decide to investigate. I removed the handlebar stem completely, and this is what I found:
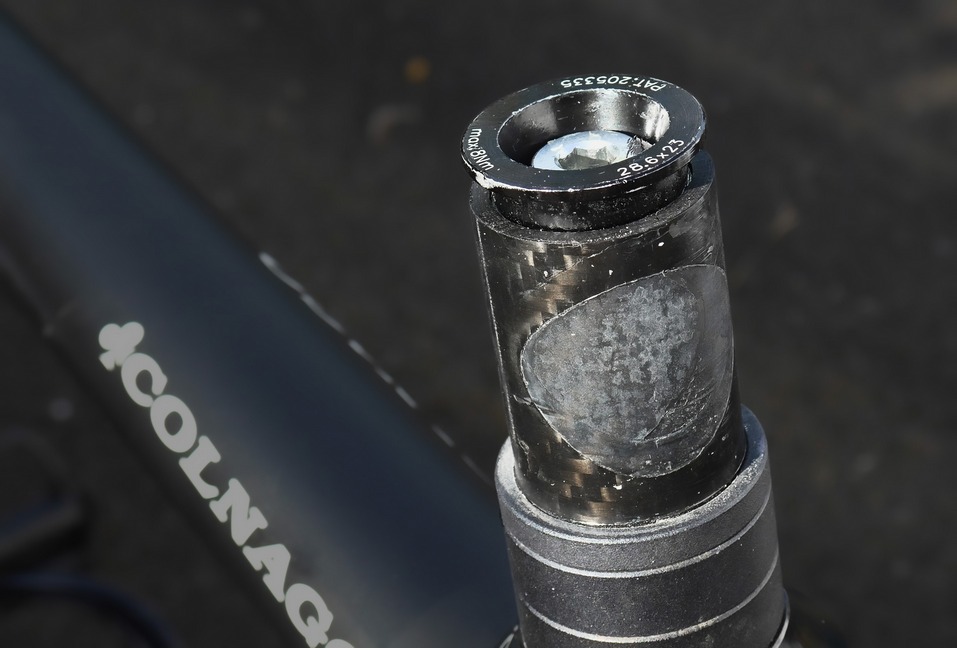
The bung in the steerer tube was not seated fully. It had pulled out by about 6mm. That accounts for a couple of problems I wrote about in the original post above. It explains why the forks didn’t seem to be getting tighter when I was tightening the top-cap – obviously as I was tightening, the bung was gradually being pulled out of the steerer tube, so the stem wasn’t being fully tightened onto the forks. And now it’s obvious why the top-cap ‘bottomed out’ on the bung.
So I loosened the bung and pushed it down fully into the steerer tube. Because the steerer tube is carbon, I wanted to make sure I used the correct torque setting when tightening the bung. I spent at least half an hour searching the internet for this elusive piece of information. When I came to tighten it, I realised that the torque setting is printed on top of the bung – doh! It was 8Nm. So I tightened it to that torque and refitted the handlebar/stem assembly. I tightened the pre-tensioner top-cap down to the correct torque (4Nm), and tightened the stem bolts.
Now there is no rattle. Although the unseated bung explains some of the things described in the original post, it doesn’t account for why the headset became loose when once it was tight. For that to happen the stem must slide up the steerer tube to some extent (maybe that can happen on really rough roads). Either that or the bearings ‘settled in’ somehow.
Update December 2019
Thought I’d do an update, six years later! The bike has now done 16,524.6 miles (according to RideWithGPS). The rattle has never returned.
Update June 2023
Another update, nearly ten years since the fix! My, how time flies! I’m still riding and still loving my Colnago CLX 3.0. The bike has now done 19,471 miles. The rattle has never returned.