When my chain started slipping, immediately after fitting a new chain in Devon on the Exmouth Exodus 2018, one of the prime suspects at the time was a worn cassette. That would explain why it only slipped on the most used gears (cogs 2,3, 4 & 5). Further research on the net seemed to confirm my suspicions. One of the articles advised “that is why you should never fit a new chain before a big ride” – ha! I know that now!!
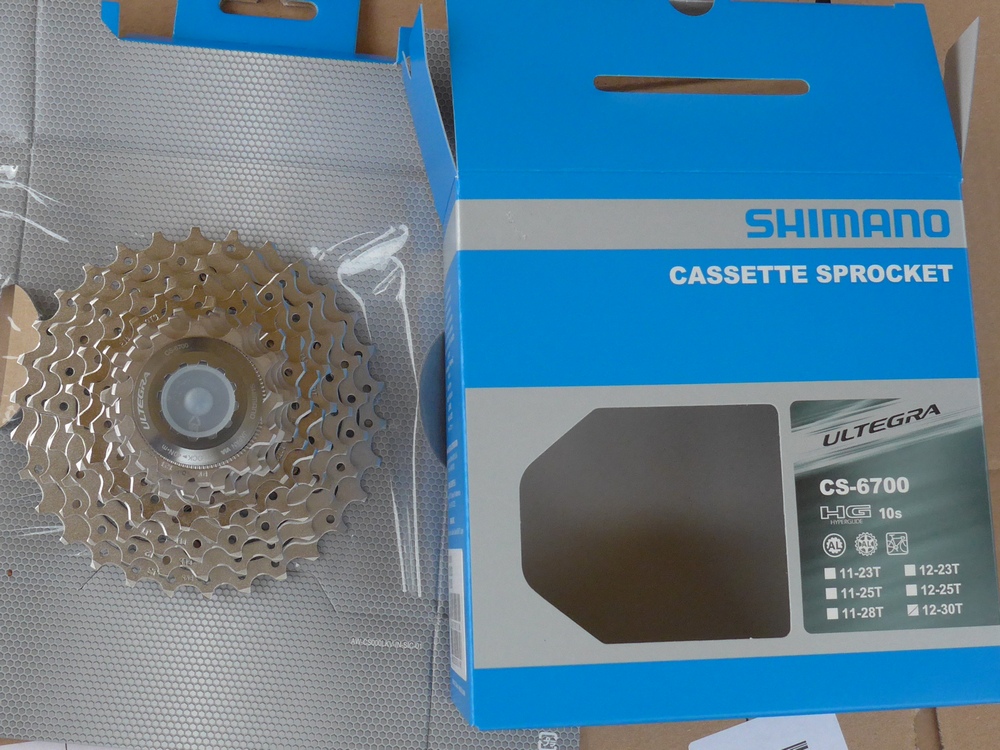
So I ordered a new cassette. It was more expensive that I remember paying before, £42.
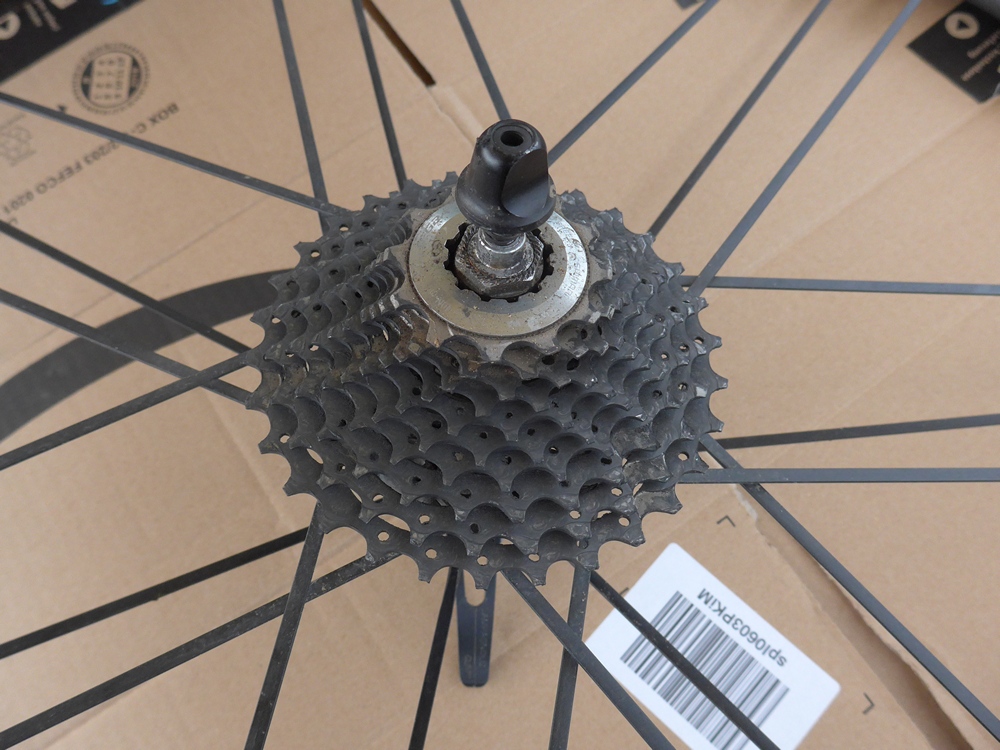
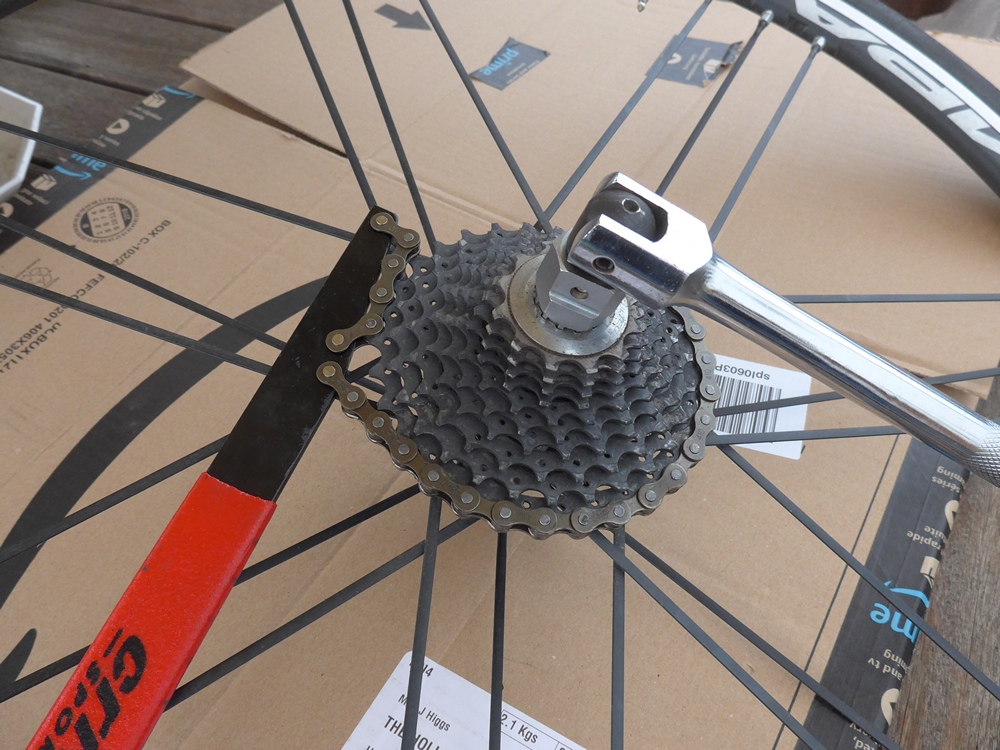
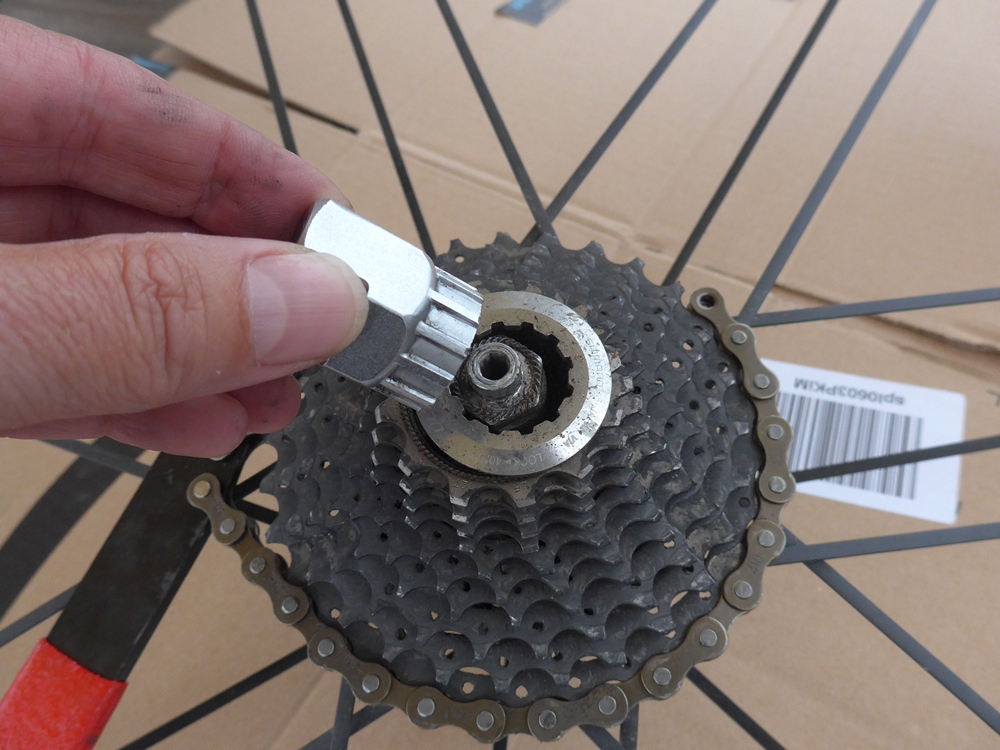
First thing I did was remove the skewer. Then using a chain whip and a Shimano cassette tool, I removed the lock ring.
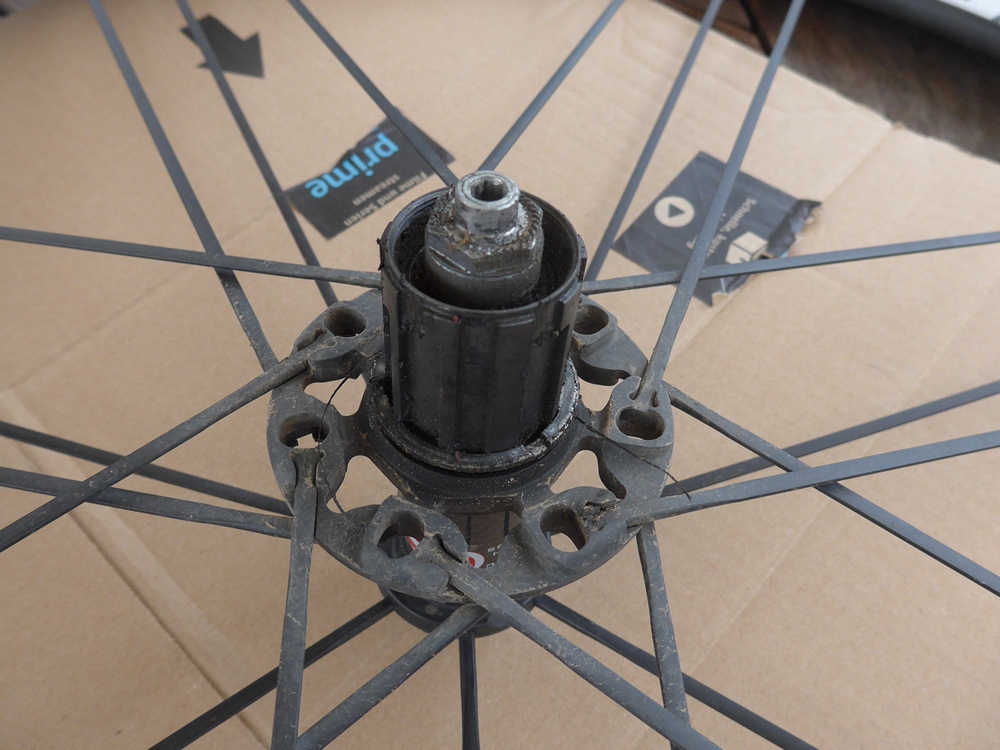
Then I removed the sprockets from the freehub
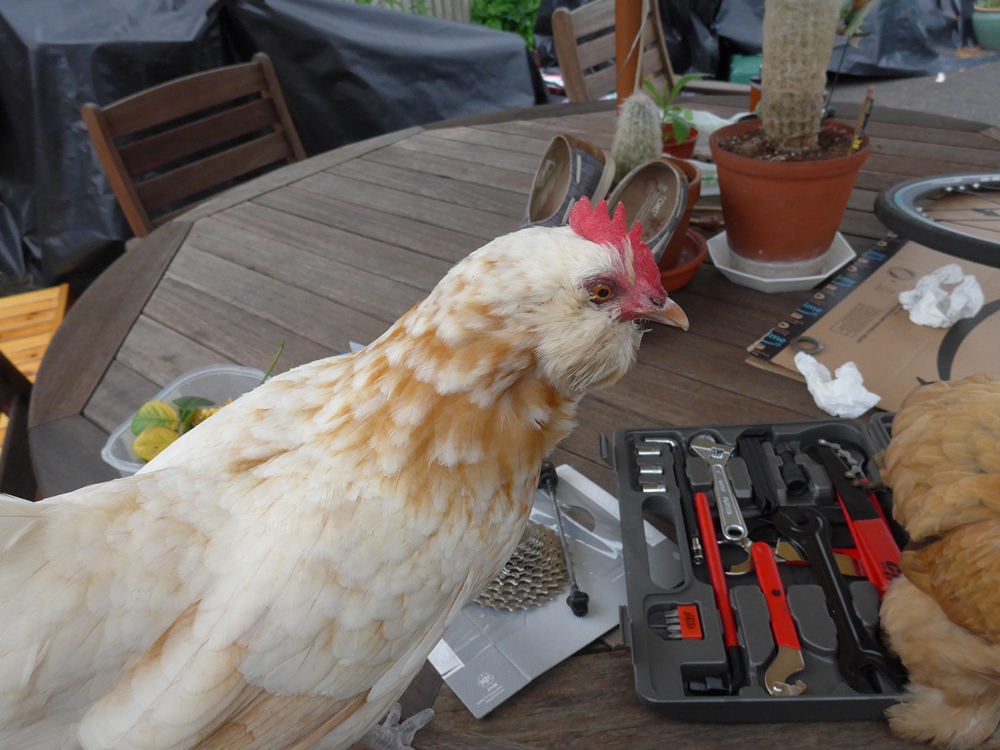
If possible, try to get some chickens to help you with the next bit.
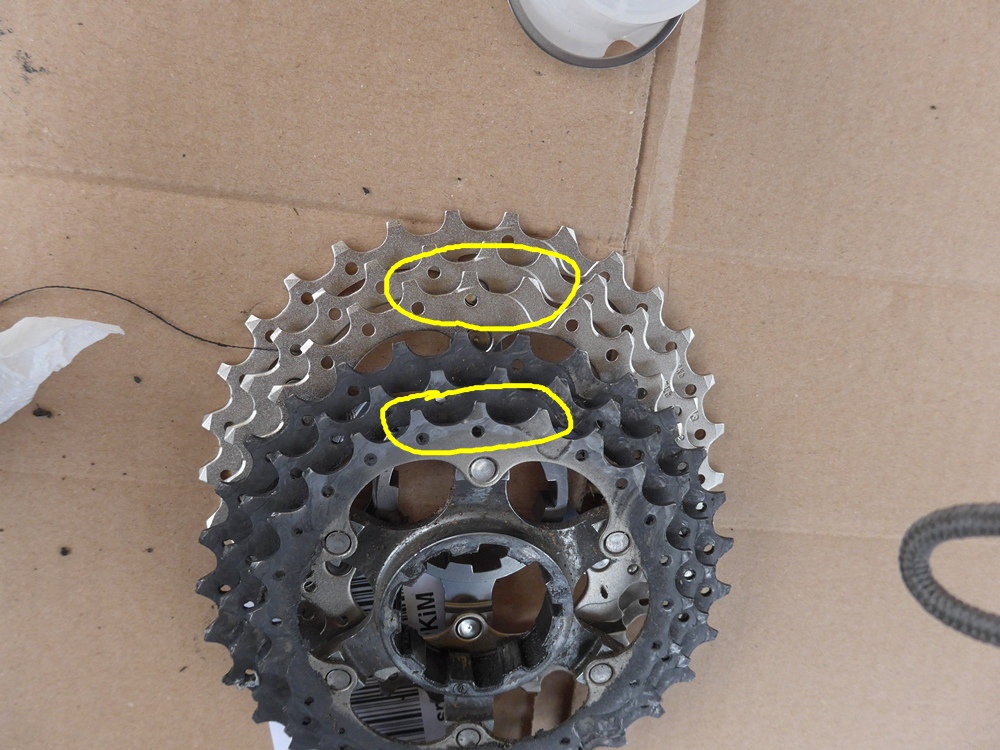
I lined-up the first three sprockets on the old and new cassettes for comparison. I’ve highlighted the equivalent teeth on each one. You can clearly see that the width of the tops of the teeth is much smaller on the old worn one and the gulley between the teeth has been elongated.
I was pleased to see that the splines on my freehub did not show signs of excessive wear.
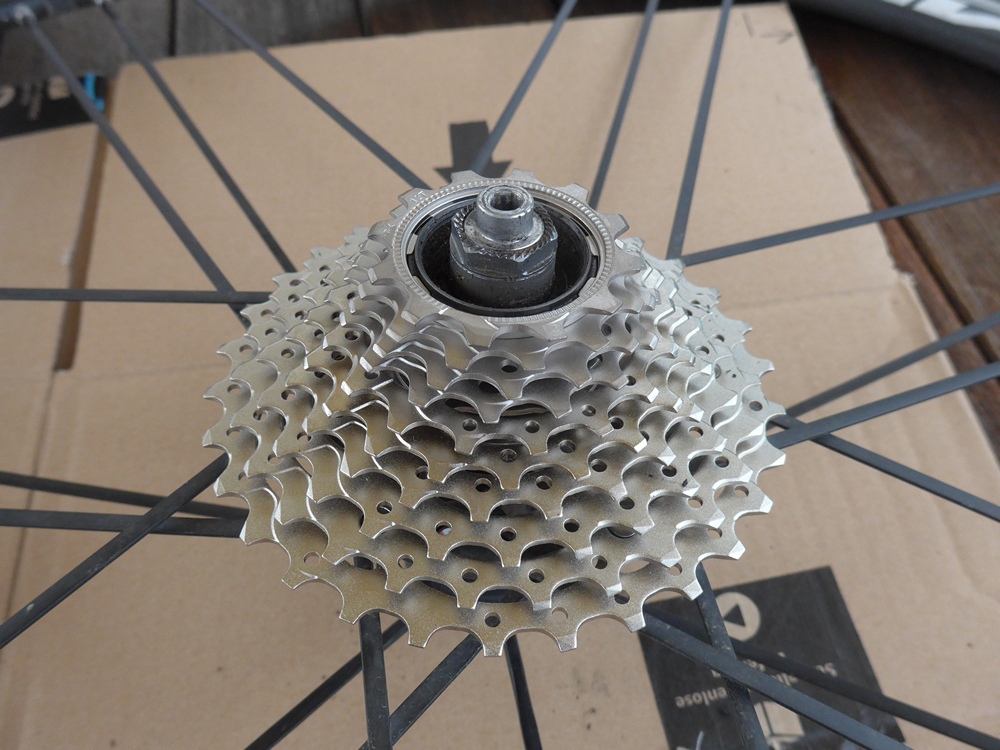
Making sure my old spacer was refitted first, I lined up each sprocket correctly and placed each one plus the plastic spacer between each one onto the freehub.
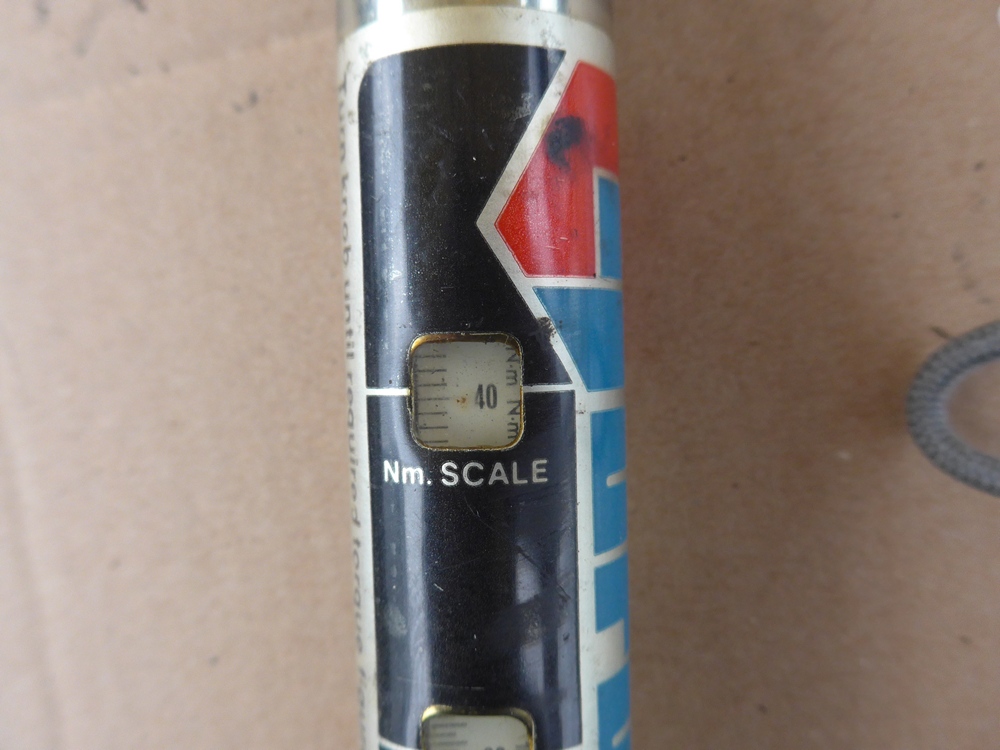
Then I used a torque wrench set to 40Nm to tighten the lock ring (the torque setting is printed on the lock ring).
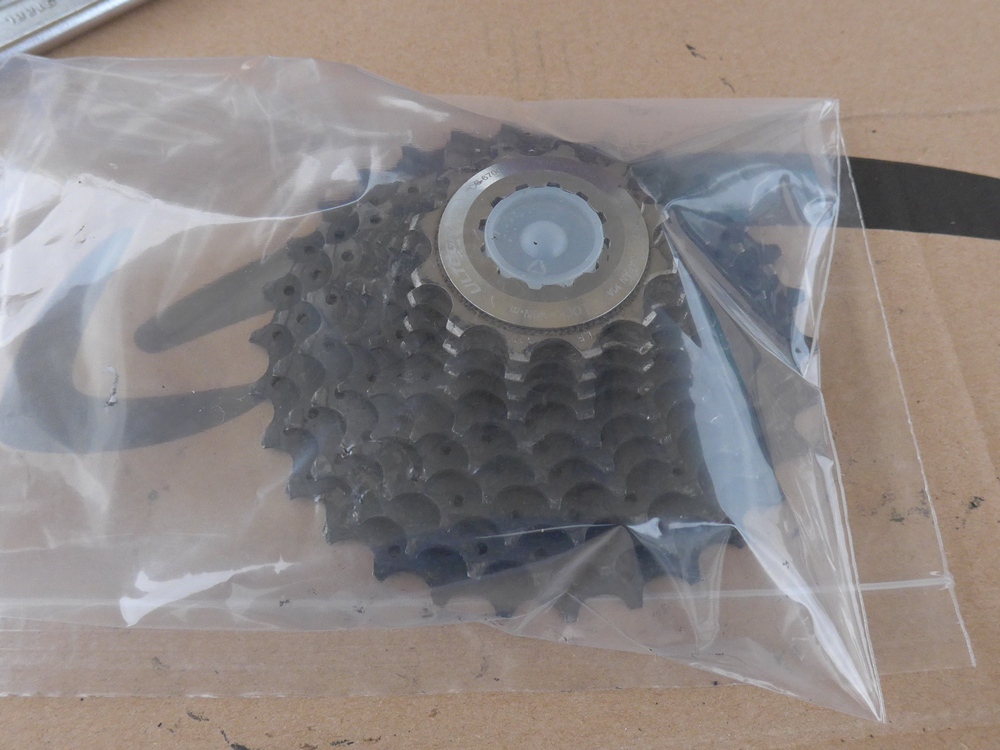
I bagged the old cassette, to be kept in the drawer marked ‘Worn-out-things-that-might-come-in-useful-for-something-one-day-but-probably-never-will’
Now I’ll be able to stand on the pedals again when climbing steep hills. As long as you have the cassette tool and a chain whip, changing a cassette is a very easy job. For more info about the spacer debacle see here













Wonderful chickens! The rest of it went over my head.
Yeah, the chickens can’t fly that high…!
To be fair, most things go over my head. (Height joke – haha!)